Photography Index Hub

I've written several photography tutorials, and this index Hub gives a brief synopsis of each article, with links to the relevant topics.
My Beginnings In Photography
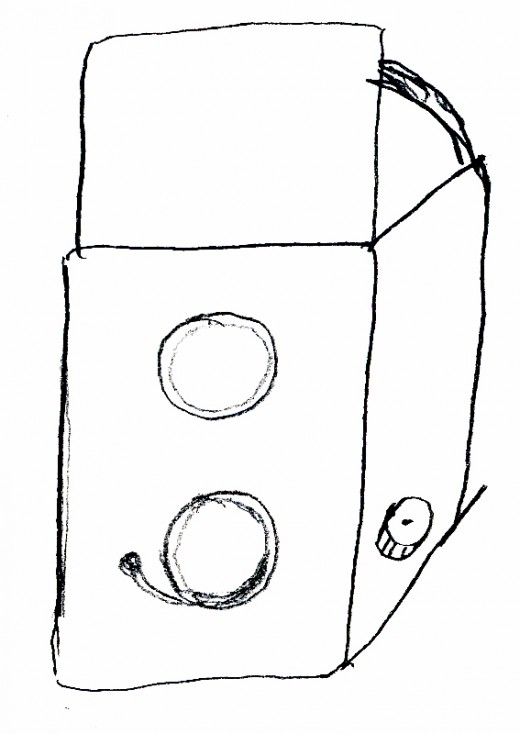
The year I turned eight, my father, a serious hobby photographer, gave me a Kodak Brownie™ Box Camera. I was thrilled! Now I could take my own pictures right along side my father.
Dad was not just a photographer--he also developed his own film and printed his own pictures, and he was prolific. I still have a huge blanket box full of the old family photos of our various family outings and trips as well as some experimental things he tried.
Ansel Adams said, "The Photo Is Made In the Darkroom"
I used to spend many pleasant hours in the darkroom with dear ol' Dad, as he patiently made numerous test strips to get the exposure just right for the final print.
Following is the process at its most basic, at the home-hobbyist level--far different from the ginormous machines seen in the one-hour processing facilities we have today.
It would be pitch black dark when he was taking the film from the camera and winding it onto the spool that went into the development tank. It all had to be done by feel, The least bit of stray light could still add its image to the undeveloped film, ruining the photos. Once the film was safely sealed into the tank with the developer solution, it was safe to turn on the lights in the room as the reel was gently agitated back and forth with the handle.
When developing time was up, the handle would be removed, and the solution could be poured out through the top of the container. Then, water would be added to rinse the remaining developer, and then the fixer solution would be added; this serves to harden the emulsion on the film so that it will stand up to handling without spoiling the image. Then the fixer is dumped out after the specified time, and again a water rinse.
Once these steps are completed, it is safe to open the film tank and allow the film to be exposed to normal room light, at which point it is hung to dry. The developing process has changed the film so that it can no longer be imprinted with an image from any kind of light.
Not only did dad have a darkroom--he built it himself, including all the equipment. He made his enlarger from assorted scrap metal and--believe it or not--spare aircraft parts he bought from the employee store at the airline at which he worked. Dad was a mechanic by trade, so manufacturing things was as much hobby as vocation for him. He loved his work.
Why Dad Did Not Develop Color Film
* At the time, color film chemicals were good for only a single use, and had to be discarded, while chemicals for black and white could be re-used several times by the addition of "replenishers."
Learning the Artistic End of the Process
My first efforts at using my new camera were not, shall we say, great examples of artistry. I even remember my very first roll of color film. Dad's darkroom handled only black and white; color film we had to take to the pro labs, because at that time, it was too expensive for home hobbyists.*
I eagerly shot the roll of what I thought would be great pictures to remember the things I was seeing. Oops. I did not yet understand composition. My lovely photo of sheep in a meadow was, alas, from too far away, and I got a photo of a few blobs of white against a green background.
It was partly my own lack of experience in understanding composition, and partly the limitations of the camera itself. The little box camera had no adjustments, and no way to 'zoom in' to make a distant subject appear closer.
It was all part of the learning curve. Other lessons of photographic composition included being aware of what is behind your intended subject, and whether it is a distracting image.
Photos of Kids and Pets
Taking photos of children takes a lot of patience, and an appropriate setting, that is, if you are after a formal portrait look. However, if it is candid action shots you are after, then it is better that the kids not even be aware of the camera's presence.
All the same, you want to be on the lookout for the composition, so you don't end up with a tree appearing to stick out of the child's head.
Progress Is Made: A "Commissioned" Portrait
By the time I was a teenager, I had learned quite a bit more about composition, and posing of subjects. When neighbor asked me to take some photos of her daughterin her first communion dress, the end result was that she liked my pictures better than those that had been taken by the professional at the church. I was at once stunned, pleased and flattered.
The Art of Taking Portraits
Taking actual portraits, as opposed to snapshots and candid photos is a whole other ball game. In this setting, the person knows very well they are being photographed, and usually why. It may be a formal portrait for business or school; it may be an informal portrait for a holiday greeting card or newsletter, for example.
Portraits require many of the same considerations listed in the selections above, but with a few extra things tossed in, as this article explains.
Good Lighting Is Crucial
In the portrait shot I mentioned above, natural, soft lighting through large windows and sheer curtains made for the pleasing appearance of that particular portrait. Natural light is not always available, of course, and the linked articles will discuss some other options, and traps to avoid.
Photography Is Fun!
Once you mastered these basics--not hard at all--it just takes longer to explain than to actually try, you'll have entered the world of a very popular hobby.
Have fun with it! Play with it! Try it out!