Home Painting Tips for DIY Homeowners
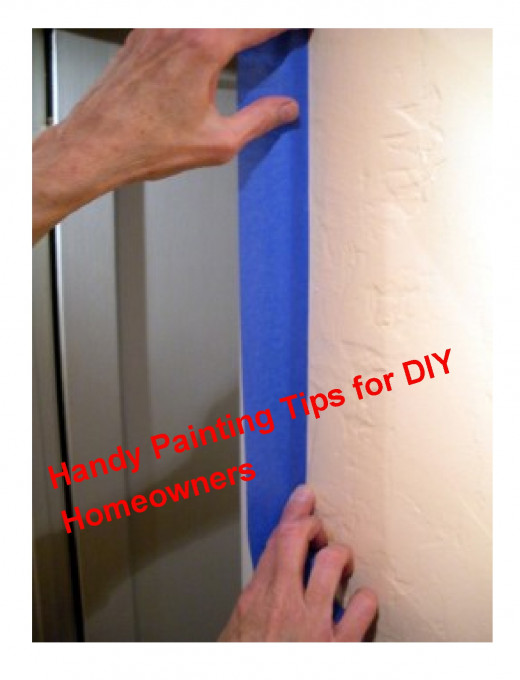
Use Painter's Tape to Mask Off Areas You Don't Want Painted
Painting Preparation
If you are planning to paint anything--anything at all, be it a wall or a piece of furniture, or the outside of your home, preparation is the be-all and end-all of a job done well.
Remember this adage: "The finished job is only as good as the substrate."
The substrate, of course, is what lies underneath the finish coat. This applies to all forms of decorating as well as basic construction. If the foundation is poor, the house will be in jeopardy; if the painting prep is not done, the finish coat will look terrible and probably not stand up over time.
So, how do you prepare for painting? It is not complicated, but neither is it always easy. Sometimes, it requires quite a bit of time and/or elbow grease. If you want the best results, it pays to make the time and take the effort.
- Clean the surface thoroughly to remove all dirt or grease and grime; the exterior of a house can be pressure-washed, the interior must be hand-cleaned.
- Repair any damage, and refinish the repair to blend in with the original surface.
- Remove any glossy texture by sanding or by very careful use of a chemical deglosser.
- Be sure the surface to be painted is fully dry before trying to paint.
- Remove all hardware, including drapery rods, door hinges, light fixtures, outlet and switch plates before starting.
- Use painter's tape to mask off the actual outlet once the cover plates are removed.
- Use painter's tape to mask off all surfaces you don't want to paint, (or want painted a different color) such as woodwork trim and any built-in features such as appliances or sideboards and window glass.
- For large areas, tape heavy paper available for this purpose, over the item so you don't end up needing miles of tape.
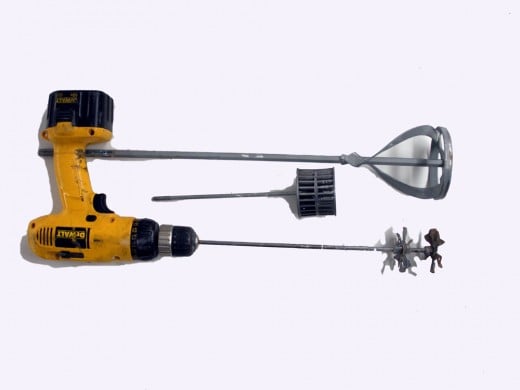
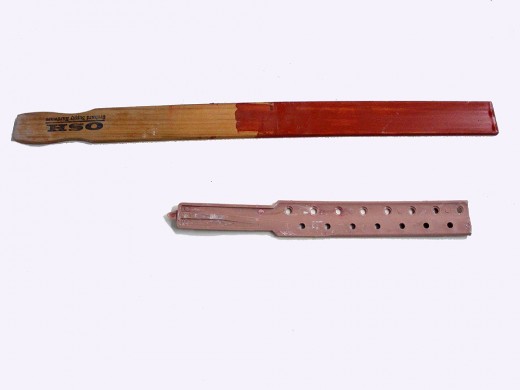
- Be sure to mix the paint very well using a paint-stirring stick (For the big 5-gallon buckets, it is best to use a mixing paddle that fits into a drill-driver)
- Move all small furniture out of the room, and move larger pieces to the center, covering them with a large drop cloth, and using a second one for the floor.
- It is best if all furniture and accessories can be removed, allowing a single drop cloth to cover the floor.
Use the Right Tools
Painting takes a number of tools to do the job well so that it looks good and lasts. You will need:
- Painter's tape: do not use regular masking tape. It's the wrong kind of adhesive, and will leave residue and/or cause the paint to peel from the taped surface.
- Paint rollers suitable for the surface you're painting: thick, fleecy rollers for rough surfaces and thin, smooth ones for smooth or lightly textured surfaces--especially those just being repainted a new color.
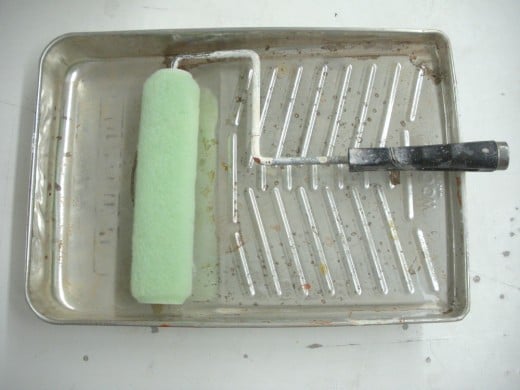
- Roller trays of the right size for your rollers.
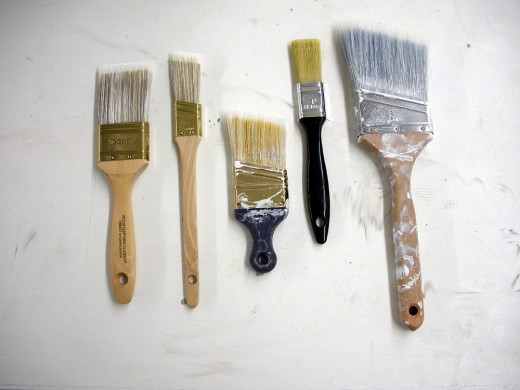
- An assortment of paintbrush sizes for cutting in around woodwork and ceiling corners; there are specially-shaped rollers for these jobs, but a brush does a better and neater job.
- A flexible plastic or metal straight-edge tool (called a trim guard) for painting baseboards without painting the carpet.
- The all-important drop cloth to protect your floor or carpet from slops, spills and drips. There's always someone who manages to step in or spill the paint.
- Sturdy ladder with a paint tray to hold the paint can or roller tray
Now, there's one more thing--if your proposed painting area is a dark color, and/or has stains or marks you cannot wash off--you are going to want to paint on a stain-killing primer coat to seal all of that in.
Yes, it's more paint, and yes, it's doing the same area twice, but in the end, it will make your life easier and your final results much nicer. There's nothing more frustrating than going through all the work to re-paint, only to have the ghost of an old "oops" bleed through.
Painting Tools You'll Need
Click thumbnail to view full-size


Ready, Set, Paint!
When beginning your painting project, begin at the top--that is, if you're project includes painting the ceiling, do that first. That way, any stray drips or slops don't land on your just-painted walls. Most of today's water-based (or latex) paints are washable, but must be left to sit at least 2 days before trying to do any scrubbing.
When you start on the walls, first, 'cut in' the edge where the wall meets the ceiling. This is where you use the paintbrush. It is virtually impossible to work a roller into this area without it contacting the ceiling. Work the 'cutting in' down to about 3" from the ceiling, so the subsequent roller work on the walls won't accidentally "hit the roof." As you work down the wall, likewise stop about 3" above the baseboard, and finish that remaining distance also with a brush.
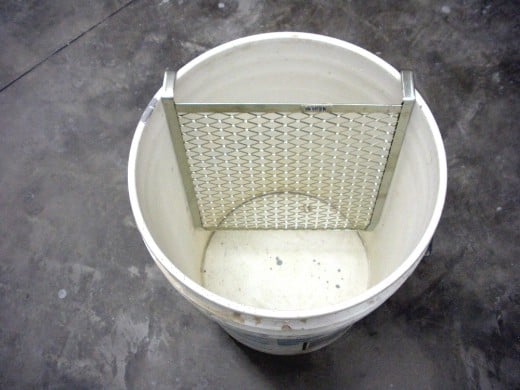
Load up your roller by rolling it down the grids of the roller tray into the paint basin at the end. roll it a few times until all sides of the roller are coated, then roll back over the grids, only enough to take off excess that may drip. Begin at one side of the room, and paint a large "W" on the wall. Then, go back over it, filling and blending it in. Repeat for each section of wall, always starting at the point farthest away from where you left off, and working back towards that point. This way, you don't end up with heavy, overlapping coats in some spots.
One mistake many novice painters make is trying to stretch the paint out too far. Don't do it. Once you have applied your "W," and blended it back, re-load the roller and proceed as above. Do not try to start painting the next section with what is left in the roller, even if it seems like you should be able to: it will show up later!
Many paints are advertised as "one-coat coverage." In my opinion and experience, that claim is a violation of truth-in-advertising laws 99% of the time. Most jobs require two coats to produce a decent result, especially if you are putting a light color over a darker color, in which case even three coats may be needed.
In the old days, (like in my childhood), rollers were not in general use. Even professional painters used brushes; big ones for large surfaces such as walls, and tiny 1" ones for trim work. Rollers make faster work of the job, but have their drawbacks, the main one being that they use a lot more paint--a fair amount of which gets locked into the roller and goes to waste. The fluffier the roller, the more waste. If you're painting something really rough, like fence boards--a brush is a better choice.
Mini-Tips
There are a few little tricks you can use to ease your work and cleanup time, as well as one memory-jogger.
- Wear rubber gloves to protect your hands from over-scrubbing to remove paint--you are going to get paint on your hands. It's the law: Murphy's law, that is.
- If you don't like gloves, then before you begin, take some of your liquid hand soap, and rub it into your hands as if it is hand lotion, then let it dry; any paint spills will stick to the soap layer and not your skin, making cleanup a breeze.
- Wear an old raggy scarf or disposable painter's hat to keep paint out of your hair. That's never a fun cleanup, especially in the back where you can't see what you're doing.
- Either keep a dedicated set of "painting clothes," or wear coveralls (also available in paper-fabric disposable types). This is advice I've failed to follow a few times, so that I now have several sets of "painting clothes."
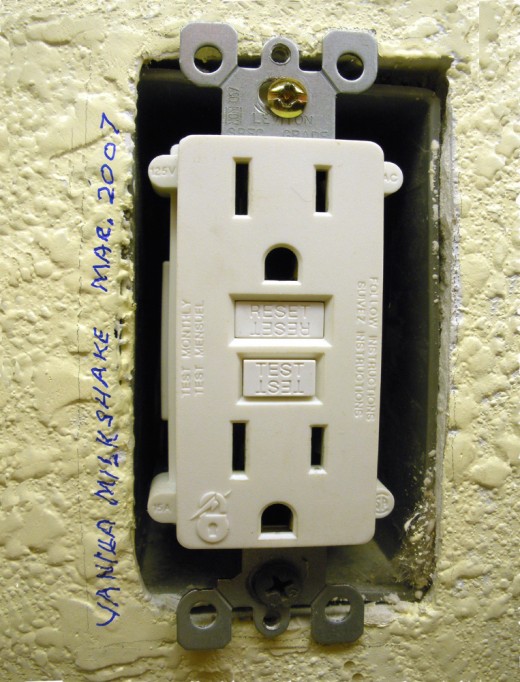
- Let's see--when did we last paint the living room??? Here's how to solve that memory lapse: take a fine-point marker, and on the wall near a light switch, (but where the switch plate will hide it), write the date, the name of the color and where purchased.
- This may seem like an obvious "no-brainer" tip, but you'd be surprised how many such accidents happen: watch and look before moving your feet to paint the next spot! Stepping in or tipping over the paint bucket or roller tray is never fun--it's an annoying delay and messy clean-up, not to mention a waste of paint; and yes, I speak from sorry experience!
Hidden Memory Jogger
Ready? Time To Choose Your Colors!
Now, all that remains for you to do is select your new paint colors, and here's one last tip.
Once you have your selections narrowed to just one or two colors, see if you can get a small size of the color, such as a quart. Use this to paint a good-sized swatch (about 2 feet square) on each of a couple of walls that get different light during different parts of the day. For example, put one square where the wall gets sunlight; another where it is mostly in shadow or artificial light.
Live with those samples for a few days or a week, to see how you actually like the effect in your home. Once you've okay-ed those trial spots, go ahead and purchase your full-sized buckets of paint, and get busy.
Enjoy your new decor!
© 2012 Liz Elias

